Building a rustic coffee table is a straightforward woodworking project that requires basic tools and accessible materials. The key to creating a rustic coffee table is selecting rough, natural wood and assembling it with simple joinery for a sturdy, timeless look.
This style emphasizes natural textures, imperfections, and solid construction over intricate details. By focusing on clean cuts and reliable techniques, you can make a piece that adds warmth and character to any living space.
With clear steps and the right approach, crafting a rustic coffee table is achievable for beginners and experienced woodworkers alike. The result is a functional piece that highlights the beauty of natural wood.
Choosing the Right Materials
Building a rustic coffee table requires careful selection of wood and lumber sources. The choice affects both the table’s durability and its authentic, natural look. Equally important is evaluating the quality of the materials to ensure a solid final product.
Selecting Wood Types for Rustic Appeal
Hardwoods like oak, walnut, and maple are ideal for rustic coffee tables due to their strength and attractive grain patterns. Oak offers a classic rustic look with deep grain, while walnut provides rich, dark tones. Pine is a softer wood option, often chosen for its knotty texture and affordability.
Avoid overly smooth or polished woods since they can detract from the rustic feel. Instead, seek wood with visible knots, grain variations, and natural imperfections. These features create character and a handcrafted appearance that defines rustic furniture.
Sourcing Reclaimed or New Lumber
Reclaimed lumber adds history and character to a rustic coffee table. It often includes weathered surfaces, nail marks, or unique staining that new wood cannot replicate. When sourcing reclaimed wood, confirm it is untreated and free from pests or rot.
New lumber provides consistency in size and fewer hidden defects, which can simplify the building process. Cedar and fir are common new wood choices for rustic furniture. For an authentic look, new lumber can be hand-distressed or stained to mimic reclaimed wood’s aged appearance.
Assessing Material Quality
Check lumber for cracks, warping, or excessive dryness, which can compromise durability. Use a moisture meter; ideal wood moisture content should be between 6-8% to avoid later warping. Run your hand along the boards to detect any splinters or rough patches needing sanding.
Boards should be straight and stable to ensure proper assembly. Avoid wood with large, loose knots since they can weaken the structure. Prioritize tight grain and uniform thickness, which helps maintain the table’s stability over time.
Designing Your Rustic Coffee Table
A well-designed rustic coffee table balances size, function, and style. Planning involves clear decisions about dimensions, useful additions, and a detailed layout to guide the construction process with precision.
Determining Table Dimensions
Start by measuring the space where the table will sit. Typical coffee tables are about 16 to 18 inches high to complement sofa seat height and approximately 36 to 48 inches long. The width usually ranges from 18 to 24 inches, allowing enough surface area without overcrowding the room.
Consider the scale of surrounding furniture and how much walking space should remain around the table. If the room is small or the furniture bulky, choose smaller dimensions to maintain balance. Sketching a rough floor plan with these measurements can help visualize fit and flow.
Incorporating Functional Features
Rustic tables can include shelves, drawers, or storage compartments for added utility. Open shelving beneath the tabletop is popular for holding books, magazines, or baskets.
Decide if you want features like built-in coasters or a distressed finish for authenticity. Functionality should not compromise simplicity; avoid over-complicating designs that reduce sturdiness. Use durable hardware like wrought iron hinges and handles to complement the rustic aesthetic.
Creating a Building Plan
Translate your design ideas into clear, step-by-step instructions. List exact material types, quantities, and dimensions for each component. Include joinery methods, such as mortise and tenon or simple screws and wood glue, based on your skill level.
Use detailed sketches or CAD software for precise measurements and angles. A thorough plan limits errors, speeds up construction, and ensures a stable, attractive final product. Organize your plan logically, moving from cuts to assembly in sequential order.
Essential Tools and Preparation
To build a sturdy rustic coffee table, selecting the right tools and preparing your workspace are critical. Proper setup and wood preparation ensure efficiency and safety throughout the project.
Gathering Required Tools
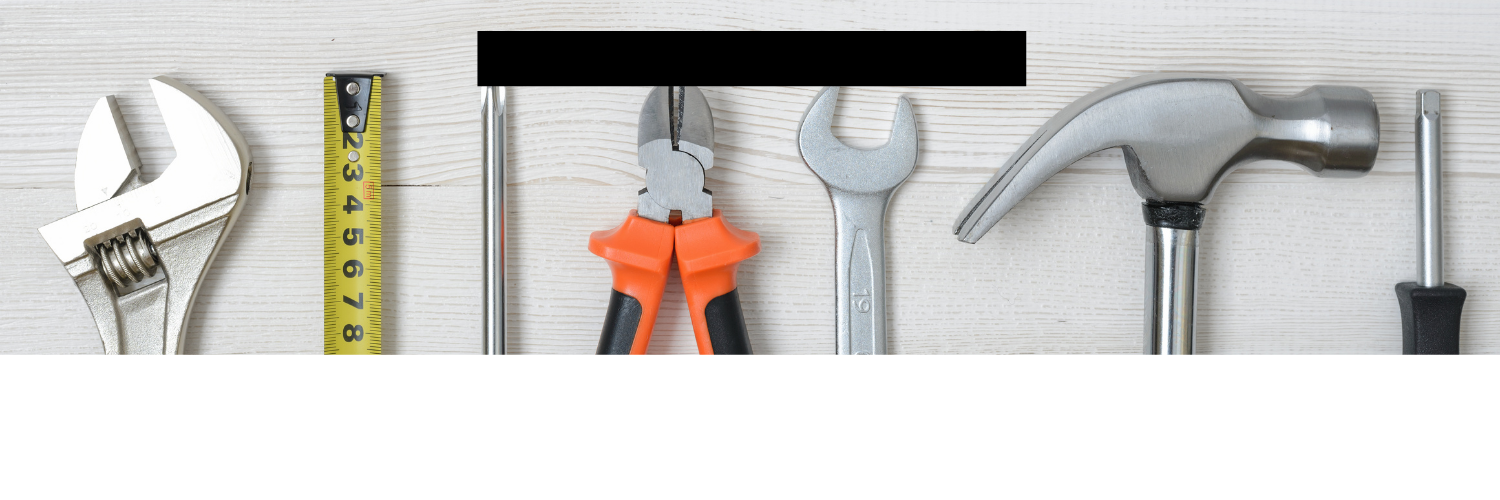
Essential tools include a circular saw or miter saw for straight cuts and a drill with various bits for assembling. Sandpaper or a power sander is necessary for smoothing surfaces, while clamps hold pieces firmly in place during gluing or screwing. A tape measure and carpenter’s square guarantee precise measurements and right angles.
You will also need wood glue for strong joints and a screwdriver or impact driver for driving screws. Consider having safety gear on hand, such as goggles and ear protection. Keeping tools organized in a toolbox or on a workbench improves workflow and reduces delays.
Workspace Setup and Safety
Choose a well-ventilated space with ample lighting and a solid, flat work surface. Clear the area of clutter to avoid tripping hazards. Place a sturdy workbench or sawhorses to support your wood pieces while cutting and assembling.
Wear protective equipment like safety glasses, gloves, and earplugs. Position your tools for easy access but away from where you will be cutting to prevent accidental injuries. Keep a first aid kit nearby.
Ensure your power cords do not create trip hazards, and consider using clamps to secure wood to prevent slipping during cutting or sanding.
Preparing Wood for Assembly
Start by inspecting wood for defects like cracks, knots, or warping that could affect stability. Use a moisture meter to check if the wood is dry enough; green wood will shrink and crack later.
Cut boards to rough size, then sand edges and surfaces carefully to remove splinters and prep for finishing. Label each piece to avoid confusion during assembly. Applying a wood conditioner before staining can help achieve a more even finish if you plan to stain your table.
Building the Tabletop
To create a sturdy and attractive tabletop, precise cutting, careful sanding, and proper securing of the planks are essential. Each step ensures stability and enhances the rustic character of the table.
Cutting and Joining Planks
Start by selecting hardwood planks that are roughly the same thickness, length, and width. Use a table saw or circular saw to cut each plank to the desired length, ensuring clean, straight edges.
Next, arrange the planks side-by-side with the best face up, mixing grain patterns for a natural look. To join the planks, apply wood glue evenly along the edges, then clamp them firmly to dry for several hours.
For added strength, consider using biscuits or dowels to align and reinforce the joints. These help prevent gaps and improve the overall durability of the tabletop.
Sanding for a Rustic Finish
Begin sanding with 80-grit sandpaper to remove rough edges and even out the surface. Focus on edges and corners to soften them slightly, which contributes to the rustic feel.
Progress to 120-grit sandpaper for smoothing without removing the texture that gives character. Avoid over-sanding; subtle imperfections like small dents or knots add authenticity.
For the final pass, use 180-grit sandpaper gently to create a comfortable surface without losing the rustic touches. Sand along the grain to avoid scratches and maintain a clean wood pattern.
Securing the Tabletop Boards
Once dry, remove clamps and inspect the tabletop for any gaps. If present, fill these with wood filler matching the plank color or leave them visible to enhance the rustic style.
Attach battens or cleats across the underside of the tabletop to keep the planks tight and prevent warping. Screw these cross supports in place, ensuring they don’t show on the finished surface.
Finally, secure the tabletop to the table frame by attaching it using screws driven from beneath. This allows the wood to expand and contract naturally without splitting or warping.
Constructing the Frame and Legs
Building a sturdy frame and securely attaching the legs are crucial steps for a durable rustic coffee table. Using precise measurements and firm joints will ensure stability and longevity.
Assembling the Base Frame
Start by cutting the frame pieces to size, typically four aprons that will form the rectangular base. Use hardwood like oak or pine for strength and rustic texture.
Lay the aprons flat and join the corners using 2-inch wood screws combined with wood glue for a tighter bond. Pre-drill holes to prevent splitting. Check for right angles with a carpenter’s square before fully tightening screws.
Add corner braces inside each joint for extra reinforcement. This keeps the frame square and prevents loosening over time. Sand the edges smooth, but keep some roughness to maintain the rustic look.
Attaching Legs for Stability
Choose legs that complement the rustic style, such as thick, tapered wood or reclaimed beams. Cut all four legs to the same height for evenness.
Attach legs inside each corner of the frame using heavy-duty corner brackets and screws. Use longer screws, at least 3 inches, for a secure hold into the frame and legs. Test stability by applying downward pressure after fastening.
Consider adding wood glue to contact points before screwing the legs in. This reduces wobbling and increases load capacity. Avoid using nails alone as they offer less strength.
Ensuring Proper Support
To prevent sagging, add cross supports between legs. For rectangular tables, place one or two horizontal braces along the length. Attach with screws and wood glue.
Check the height and level of the frame and legs frequently during assembly. Use shims to adjust uneven legs before final tightening.
A well-supported frame distributes weight evenly, reducing stress on joints. This is vital for a functional coffee table that will hold decor, books, and beverages without risk of damage.
Distressing and Finishing Techniques
Creating a rustic coffee table involves specific steps to achieve an authentic weathered look. These include selecting the right finishes, using tools to add character, and protecting the wood to maintain its appearance.
Applying a Rustic Finish
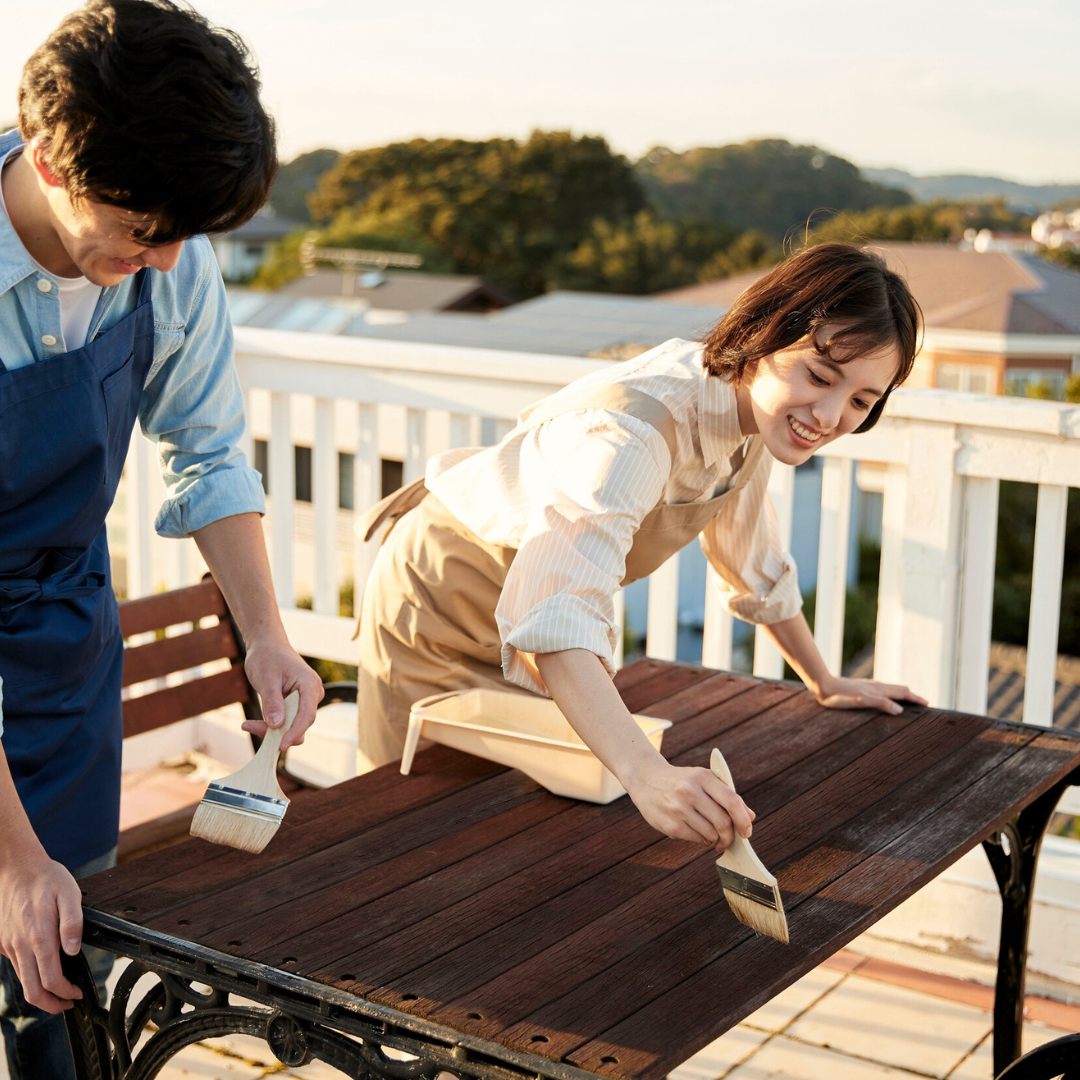
Start by choosing finishes that enhance the worn look. Stains in warm, earthy tones like walnut, chestnut, or honey add depth to the wood. Apply the stain with a rag or brush, working with the grain for even coverage.
For a layered effect, consider applying a base coat of paint and then sanding parts of it off to reveal the wood underneath. This method emphasizes natural imperfections and creates a vintage patina.
Leave the stain to dry fully before deciding if additional coats are needed. Each layer should be thin to avoid clumping or overly dark surfaces.
Using Distressing Tools
Distressing tools give the table an aged appearance. Common tools include wire brushes, chains, hammers, and sandpaper with varying grits.
Focus on edges and corners, where natural wear occurs. Use a hammer or metal chain to create small dents, and a wire brush to add texture along the wood grain.
Sand rough areas selectively. Begin with coarser grit (around 60-80) and finish with finer grit (120) to smooth sharp spots without losing detail.
Maintain balance to avoid over-distressing. The goal is a believable, rugged finish rather than excessive damage.
Sealing and Protecting the Wood
Sealing protects the wood and finish from moisture and wear. Use a clear polyurethane or matte varnish to maintain a natural matte or semi-gloss look.
Apply at least two coats with a synthetic brush, sanding lightly between coats with 220-grit sandpaper for smoothness. Allow drying time as per product instructions.
For outdoor use or higher durability, consider a water-based exterior sealant. Avoid glossy finishes that detract from the rustic style.
Proper sealing reduces the risk of stains and makes the surface easier to clean.
Assembling the Coffee Table
Proper alignment, strong joints, and thorough checks ensure the table is both stable and visually appealing. Paying close attention during each step helps prevent future issues like wobbling or uneven surfaces.
Aligning and Fastening Components
Start by arranging the tabletop and legs on a flat surface. Use clamps to hold pieces in place while aligning edges and corners precisely. This prevents gaps and misalignment during fastening.
Drive screws through pre-drilled holes to avoid wood splitting. Use wood glue along contact surfaces before fastening to enhance strength. Check twice before tightening to ensure the frame is square. A carpenter’s square helps verify right angles at each corner.
Fasten the apron pieces to the legs first, then attach the tabletop. Use consistent pressure with clamps to maintain alignment while drying. Avoid over-tightening screws, which can damage the wood or cause misalignment.
Reinforcing Joints
Enhance durability by adding corner brackets or wooden dowels to key joints. Metal L-brackets can be installed beneath the table apron for added strength without affecting appearance.
If using dowels, drill holes meticulously and apply wood glue to each dowel. Insert dowels into matching holes on the adjoining pieces, then clamp until the glue cures. This method improves load-bearing capacity and resistance to lateral forces.
For additional reinforcement, consider applying wood glue to all contact areas before assembly, not just fastened spots. This distributes stress evenly along joints and prevents weakened points over time.
Quality Checks Before Completion
Inspect every joint and surface after assembly. Look for gaps, loose screws, or uneven edges. Test the table’s stability by applying gentle pressure at different points; it should not wobble.
Sand any rough edges or surfaces for smoothness. Check that legs are even in length to prevent rocking. Use a level to confirm the tabletop is flat. Tighten any screws that feel loose.
Final reinforcing, such as adding felt pads under legs, protects floors and maintains balance. Any imperfections found at this stage are easier to fix before finishing.
Styling and Decorating Your Rustic Coffee Table
To enhance the natural charm of a rustic coffee table, focus on combining materials, textures, and colors that complement its rugged style. Thoughtful decor choices can emphasize the table’s handmade qualities and blend it seamlessly into your living space.
Accessorizing for a Rustic Look
Choose accessories that reflect the simplicity and earthiness of rustic design. Items like woven baskets, vintage lanterns, or stone coasters work well.
Tips for accessorizing:
- Use natural materials such as wood, leather, burlap, or metal.
- Display small plants or succulents in ceramic pots for a touch of greenery.
- Add a stack of worn books or a handmade pottery bowl.
Keep accessories minimal and purposeful to avoid clutter, allowing the rustic character of the table to remain the focal point.
Blending with Existing Decor
Match the coffee table’s finish and style with your room’s current decor to create cohesion. Pay attention to color tones, wood grains, and textures present in chairs, rugs, or shelving.
Ways to blend successfully:
| Element | Example |
| Colors | Earthy shades like browns, tans, and greens |
| Textures | Rough linen throws, distressed leather cushions |
| Materials | Iron or bronze metal accents, reclaimed wood elements |
Layering these elements around the coffee table reinforces a warm, inviting atmosphere consistent with rustic design.
Maintenance and Long-Term Care
Proper upkeep will extend the life of your rustic coffee table and keep it looking its best. Focus on consistent cleaning and timely repairs to address wear and tear.
Regular Cleaning Tips
Dust the table regularly using a soft, dry microfiber cloth to prevent dirt buildup, which can scratch the surface. Avoid using harsh chemicals or all-purpose cleaners; instead, use a mild soap diluted in water for sticky residues.
Apply wood polish or a suitable oil every few months to maintain the finish and protect the wood from drying out. Wipe spills immediately to prevent stains or water damage, especially around joints and edges. Use coasters and placemats to guard against heat marks and moisture rings.
Repairing Minor Damage
For small scratches or dents, use a wax stick or wood filler in a matching color to blend imperfections. Lightly sand damaged areas before applying filler for better adhesion. Avoid deep sanding, which can alter the rustic character of the wood.
If the table develops loose joints or wobbles, tighten screws or apply wood glue to reinforce connections. Clamp glued parts for several hours to ensure a strong bond. Regularly inspect hardware and replace any rusted or worn screws to maintain stability.