
Creating a handmade headboard is a practical way to add a personal touch to your bedroom while controlling style and cost. The key steps involve selecting materials, measuring your bed frame, cutting and assembling the pieces, and finishing with fabric or paint to match your décor.
This project can be tailored to different skill levels and design preferences, making it accessible whether you want a simple wooden headboard or a padded, upholstered one. With basic tools and materials, you can build a headboard that fits both your space and style needs.
Understanding the process helps avoid common mistakes and ensures a sturdy, attractive result. This guide breaks down the essential steps clearly, enabling you to confidently make your own unique headboard.
Choosing the Right Materials
Selecting materials carefully is essential for a durable and attractive handmade headboard. Wood type, fabric, padding, and hardware all influence the final outcome. Each component affects style, comfort, and overall functionality.
Types of Wood for Handmade Headboards
Wood choice impacts strength, appearance, and ease of working. Common options include pine, oak, maple, and walnut. Pine is affordable and easy to shape, but it may dent easily. Oak offers durability with a classic grain, ideal for heavy use.
Hardwoods like maple and walnut provide rich color and long-lasting quality,y but require more skill to handle. Plywood can be a budget-friendly core covered with veneers or fabric.
Consider wood finish compatibility with your design style and bedroom atmosphere. Sealants and stains help protect against wear and moisture.
Upholstery Options
Upholstered headboards add comfort and visual warmth. Options range from simple foam padding to layered batting for softness. The core material is typically high-density foam to maintain shape over time.
Spray adhesive aids in attaching foam to wood for a clean surface before fabric application. Consider tufting, channeling, or smooth upholstery techniques depending on the desired style.
Use a staple gun or upholstery tacks to secure fabric. Laser-cut or hand-cut fabric edges improve precision. Combine upholstery with wood for hybrid designs.
Selecting Fabrics and Padding
Fabric choice affects durability, comfort, and aesthetics. Heavyweight cotton, linen blends, leather, and synthetic microfibers are popular. Choose fabrics resistant to fading and abrasion.
For padding, start with a foam layer (1-2 inches thick) topped by softer batting like polyester or cotton. This creates smooth contours and softness.
Color and texture should complement your room. Darker colors help conceal stains; patterned fabric adds visual interest. Ensure fabric has enough stretch for easy fitting.
Hardware and Tools Needed
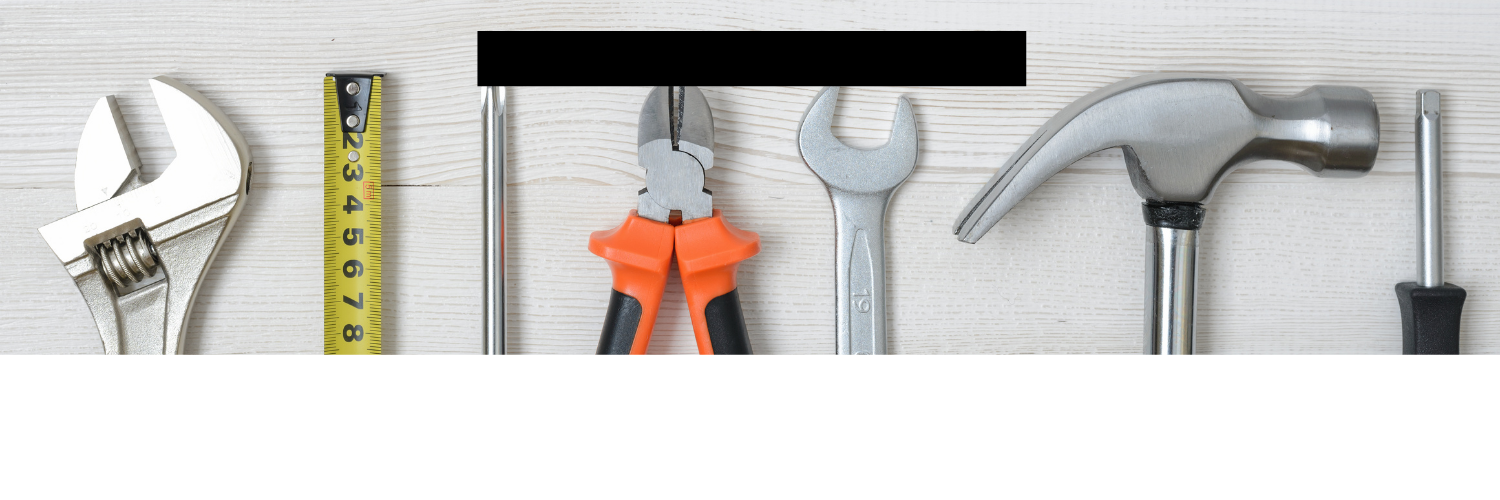
Basic tools include a saw, hammer, drill, staple gun, and measuring tape. A jigsaw or circular saw is useful for precise wood cuts. Sandpaper smooths edges for a professional finish.
Hardware involves screws, nails, brackets, and upholstery staples or tacks. Use heavy-duty screws for wood joints and mounting brackets for wall attachment.
Additional supplies like spray adhesive and fabric scissors improve efficiency. Safety gear, such as gloves and goggles, is important during cutting and assembly.
Design Planning and Inspiration
Careful planning of dimensions, style, and concept is essential before building a handmade headboard. Accurate measurements and clear visualization ensure that the final product fits perfectly and complements your bedroom.
Measuring Your Bed and Space
Start by measuring the width of your bed frame from one outer edge to the other. Add a few inches on each side if you want the headboard to extend beyond the bed for a balanced look. Measure the height from the floor to where you want the top of the headboard to reach, typically between 48 and 60 inches.
Consider the space between the bed and any wall or furniture around it. Allow enough clearance to avoid crowding. Record your measurements precisely to guide material cutting and assembly.
Popular Handmade Headboard Styles
Common styles include panel boards, which use flat wooden slats for a clean appearance. Another option is upholstered headboards that feature fabric and padding for softness and comfort.
Rustic headboards often incorporate reclaimed wood or rough finishes, adding texture and warmth. Modern designs favor sleek lines and geometric patterns. Choose a style that fits your room’s overall decor and personal taste.
Creating a Design Sketch
Drafting a detailed sketch is crucial for visualizing your project. Use graph paper or a digital tool to draw the headboard to scale based on your measurements. Include the width, height, and depth, marking where joints and decorative elements will go.
Label materials and structural components clearly. This sketch will serve as a reference during construction, helping to avoid mistakes and ensuring materials are cut correctly. Keep the design functional and straightforward to match your skill level.
Building the Headboard Frame
Constructing a sturdy and precise frame is key to a durable handmade headboard. It involves cutting wood to exact measurements, securely joining parts, adding reinforcements, and smoothing all surfaces for finishing.
Cutting and Assembling the Frame
Start by selecting solid wood like pine or oak for durability. Measure the desired headboard width and height carefully, then mark the wood pieces accordingly. Common dimensions for a queen-size bed are about 60 inches wide and 36-48 inches tall.
Cut the main frame pieces: two vertical side posts and two horizontal crossbars. Use a saw for clean, straight cuts. Assemble the frame by joining the crossbars to the posts with wood screws or pocket holes, ensuring corners are square using a carpenter’s square.
Dry-fit the pieces before final assembly to check alignment. Pre-drill screw holes to avoid wood splitting. Tighten screws evenly for a flush, stable frame.
Reinforcing Structural Integrity
Strengthen the frame by adding center supports—especially for wider headboards. Insert one or two vertical slats between the horizontal crossbars to prevent sagging. Use wood glue in joints to enhance bond strength alongside screws.
Corner braces or metal L-brackets can be installed at all four corners for additional support. Make sure the braces do not interfere with the upholstery or attachment to the bed frame.
Check for any wobbles or weak points and reinforce as needed. The goal is a rigid structure that can withstand regular use without shifting or creaking.
Sanding and Preparing Surfaces
Sand all wooden surfaces thoroughly, starting with 80-grit sandpaper and progressing to 150- or 220-grit for a smooth finish. Focus on edges and corners to remove sharpness and splinters.
Wipe down the frame with a damp cloth to remove dust. This prepares the surface for painting, staining, or upholstery.
Ensure the frame is clean and smooth to help paint or fabric adhere better and improve the overall look and feel of the headboard.
Adding Upholstery and Finishes
Upholstery transforms a plain headboard into a comfortable and stylish centerpiece. Key steps include attaching foam and batting, wrapping the fabric tightly, and adding finishing touches that enhance both look and durability.
Attaching Foam and Batting
Start by cutting foam to match the headboard’s dimensions, typically 1 to 2 inches thick for cushioning. Use spray adhesive or a staple gun to secure the foam firmly on the wooden frame.
Next, cover the foam with batting to soften edges and ensure a smooth surface under the fabric. Staple the batting tightly at the back of the frame, folding corners neatly to avoid lumps.
Check for even padding by pressing the foam and batting with your hand. Adjust or add layers if needed for comfort and uniform thickness.
Wrapping and Securing Fabric
Choose a durable fabric that complements your room decor. Lay it flat on a clean surface, then place the padded headboard face down on top.
Pull the fabric tight around the edges to avoid wrinkles or sagging. Use a heavy-duty staple gun to fasten the fabric at the back of the frame, starting with the center of each side before moving to the corners.
Fold fabric neatly at corners with minimal bulk, stapling securely. Trim excess material, but leave enough for any needed adjustments.
Adding Decorative Details
Decorative details personalize your headboard while improving fabric hold and durability. Consider adding nailhead trim along the edges for a classic look—apply with a hammer or nailhead tool.
You may also sew or glue on tufting buttons in a grid pattern to create texture and depth, securing them with strong upholstery thread.
Attach corner protectors or wooden trim for added structure and style, ensuring all finishes are securely fixed and evenly applied.
Mounting and Installation
Properly securing a handmade headboard ensures stability and longevity. Whether attaching it to a bed frame or mounting it on a wall, steps must be precise and tools appropriate.
Attaching the Headboard to the Bed Frame
Align the headboard with the bed frame’s mounting holes. Most bed frames have pre-drilled holes on the metal bars near the top. Use bolts that match the diameter of these holes to ensure a tight fit.
Insert bolts through the headboard’s mounting brackets and the bed frame holes. Tighten nuts firmly with a wrench,h but avoid overtightening, which can damage the wood or metal. Adding washers can distribute pressure evenly and prevent damage.
If your bed frame lacks standard brackets, install L-shaped mounting brackets on the headboard sides. Secure these to the frame with screws or bolts rated for your bed’s weight. Double-check all connections for wobble before use.
Wall-Mounting Techniques
Start by locating studs in the wall with a stud finder and marking their centers. Use heavy-duty wall anchors only if studs aren’t available; anchors must support the headboard’s weight.
Drill pilot holes through the headboard support rails and into the studs, then use lag bolts to secure it. Minimum bolt length should be 2.5 inches for a solid hold.
A French cleat system offers strong, flush mounting and easy removal. Attach one cleat to the wall securely into studs, and the matching cleat to the headboard. Hang the headboard by fitting the cleats together, ensuring stability.
Safety Considerations
Ensure all mounting hardware is rated for the expected load. Use a torque wrench to avoid under- or over-tightening bolts. Check the headboard periodically for loosening.
If mounting to drywall alone, never skip using anchors designed for heavy loads. Also, confirm no electrical wiring or plumbing is behind drill points.
Keep tools and hardware out of reach of children during installation to avoid injury. Always wear safety goggles and gloves during drilling and assembly.
Personalizing Your Handmade Headboard
Customizing your headboard allows it to reflect your style and blend seamlessly with your bedroom decor. You can alter its color, texture, and functionality by using various finishing techniques and adding practical or decorative features.
Painting and Staining Options
Choosing the right finish can completely change the look of your headboard. For a natural wood appearance, use a clear or lightly tinted stain that highlights the grain. Opt for oil-based stains for deeper color and durability or water-based stains for easier application and environmental safety.
If you prefer a solid color, acrylic or latex paint offers versatility and a wide range of shades. Use a primer first to ensure paint adhesion, especially on raw wood. Matte finishes hide imperfections well, while semi-gloss or gloss can make the surface easier to clean.
To add texture, try color washing or distressing techniques. Sand the edges lightly after painting to achieve a rustic or vintage look. Always seal with a clear polyurethane coat to protect the finish.
Incorporating Lights or Accessories
Adding lights improves both functionality and aesthetic appeal. LED strip lights can be installed along the headboard’s edges or behind it to create soft ambient lighting. Choose warm white LEDs for a cozy atmosphere or cool white for a modern feel.
You can also attach small shelves or hooks to hold books, plants, or decorative items. Consider mounting USB charging ports or small reading lamps directly onto the headboard for added convenience.
When attaching accessories, use screws or brackets suitable for the headboard material to ensure stability. Keep wiring neat and secure, hiding it behind the headboard or inside cable channels to maintain a clean look.
Care and Maintenance
Regular cleaning helps maintain the headboard’s appearance. Use a soft, dry cloth to remove dust weekly. Avoid harsh chemicals that can damage the material’s finish.
For wooden headboards, apply furniture polish or wax every few months to protect the surface. Be sure to test products on a small area first to prevent discoloration.
Fabric-covered headboards benefit from vacuuming with a brush attachment. Spot clean stains immediately using mild soap and water. Avoid over-wetting the fabric to prevent damage.
| Material | Cleaning Tip | Recommended Frequency |
| Wood | Dust and polish | Dust weekly, polish quarterly |
| Fabric | Vacuum and spot clean | Vacuum weekly, clean as needed |
| Metal | Wipe with a damp cloth, dry thoroughly | Weekly or after spills |
Check the headboard’s hardware regularly. Tighten screws and bolts to maintain stability and safety. This simple step can extend the life of your handmade piece.
Protect the headboard from direct sunlight to avoid fading or warping. If possible, position the bed away from windows or use curtains to shield the surface.